Sea Anemone Craft
- Franzi Shelton

- Jun 3, 2020
- 2 min read
Updated: Oct 29, 2020
Yesterday, I received Julia Rothman's beautiful new book 'Ocean Anatomy' in the mail and am super excited to use her book as inspiration to create a set of Waldorf inspired ocean crafts and lessons. Living in California, one of my favorite things to do with kids is to visit the diverse tide pools along our gorgeous coastline. In this activity, children will use wet-on-wet painting in order to create sea anemone models.
Rocky Intertidal Zone:
The so-called rocky intertidal ecosystem describes the ecosystem that is formed between the high tidal mark and the low tidal mark of the Pacific ocean. Animals and plants within this zone have exceptional adaptations that allow them to survive severe and continuously alternating conditions. At high tide, the rocky intertidal is covered by water. Crashing waves can easily displace organisms and require them to remain firmly attached to their substrate. At low tide, the rocky intertidal is exposed to the sun, which can lead to desiccation. Sea anemones are exceptional creatures that inhabit the California rocky intertidal ecosystem. In Santa Barbara County, the starburst (or sunburst) anemone, Anthopleura sola, is a common species of solitary sea anemones. The starburst anemone can showcase an astonishing variety of colors, which are reflected on its stinging tentacles that it uses to capture prey from within the water column. Sea anemones obtain their coloration from natural pigments as well as a genetic component which makes each individual unique.
Materials:
Directions:
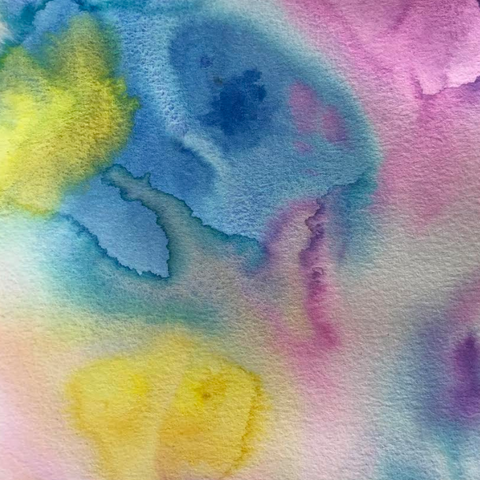
To create your anemones' tentacles, you will be using a technique called "wet-on-wet painting".
Dip a large painting brush into clean tap water and use this brush to moisten your watercolor paper with water. Once moist, choose different colors and loosely apply them to the paper using the same big brush. Do not spend too much time adding detail. The colors will merge beautifully on their own - simply by applying them to the wet paper.
Let your background dry for a minimum of 30 minutes.


Use a compass and sharp pencil to draw two differently sized circles onto your wet-on-wet paper. My circles were 8 cm and 10 cm in diameter.
Using sharp scissors, cut "tentacles" into each of the circles. Be sure to leave a small uncut center in the middle of each circle (see image on left).
In order to create your anemone's column, cut a toilet paper roll into several rings (they do NOT have to be the same height).
Attach the tentacles to the column using a hot glue gun. Be sure to glue down the LARGER circle FIRST.
Finally, cut out a small circle to create the anemone's mouth.


#kidscrafts #seaanemone #seaanemonecraft #anemonecraft #oceancraft #juliarothman #oceananatomy #nature #crafts #familycrafts #basteln #bastelnmitkindern #naturecrafts #waldorf #waldorfinspired #waldorfhome #waldorfhomeschool #love #outdoorlearning #playbasedlearning #outdoors #openendedplay #enchantedchildhood #momlife #momblogger #momblog #mommylife #mommyblog #artsandcrafts #natur #kinderkunst #mindfulness


Die Floral Magnets sind soooo toll! So können sich die Kleinen intensiv mit der Natur beschäftigen und kreieren ganz unbemerkt ein kleines Kunstwerk.... wie schön!!!